Understanding Sash Window Repair: The Essential Guide to Restoring and Maintaining Your Timber Windows
Sash windows are iconic features of traditional British architecture. Known for their elegance, functionality, and historical significance, they add charm and character to any property. However, like all wooden elements exposed to the environment, sash windows are susceptible to deterioration over time. This makes sash window repair an essential aspect of home maintenance for owners who wish to preserve their heritage while enjoying modern efficiency. Whether your windows have become drafty, squeaky, or damaged, proper repair can extend their lifespan, improve energy efficiency, and enhance aesthetic appeal.
In this comprehensive guide, we will explore the fundamentals of sash window repair, detailing practical steps, tools, costs, and professional services. For those considering DIY fixes or planning a restoration project, this resource provides data-driven insights, expert tips, and a clear pathway to achieving window excellence. To begin your journey, learn more about expert solutions at Sash window repair—a crucial service for homeowners committed to restoring their classic timber windows.
Understanding Sash Window Repair: Basics and Benefits
What Is Sash Window Repair and Why It Matters
Sash window repair encompasses a range of maintenance and restoration techniques aimed at fixing or upgrading existing wooden sash windows. Unlike replacement, repair focuses on preserving the original craftsmanship, materials, and architectural integrity. This approach is not only environmentally sustainable but also often more cost-effective, especially when considering the high aesthetic and historical value of sash windows.
Proper repair involves addressing specific issues like broken cords, rotted timber, draughts, damaged glass, or compromised hardware. Skilled intervention restores functionality, prevents further deterioration, and maintains the character of period properties. In the UK, such repairs are integral to heritage conservation, contributing to sustainability and curb appeal.
Common Problems and Signs You Need Repairs
Recognizing early signs of sash window issues can save substantial costs and prolong their lifespan. Typical problems include:
- Draughts: Feeling cold air seeping through gaps, often caused by worn or misaligned sashes.
- Difficulty opening or closing: Sashes sticking or jamming due to warped timber, debris, or damaged pulleys.
- Broken or cracked glass: Leading to safety hazards and energy loss.
- Rotting timber and decay: Often visible at sills, frames, or joints caused by moisture ingress.
- Unattractive or deteriorated finishes: Peeling paint, old putty, or surface damage detract from the window’s appearance.
- Squeaking or rattling noises: Indicating loose hardware or poor alignment.
If your sash windows exhibit any of these signs, timely intervention ensures cost-effective repairs and preserves their historic charm.
Advantages of Proper Restoration over Replacement
Many homeowners debate whether to repair or replace sash windows. Restoration offers several compelling benefits:
- Heritage preservation: Maintaining original design, craftsmanship, and period authenticity.
- Cost efficiency: Restoring can be less expensive than full replacement, especially when considering double or triple glazing retrofits.
- Environmental impact: Repair reduces unnecessary waste and conserves natural resources.
- Enhanced performance: Restored sash windows, especially when upgraded with modern draught-proofing and glazing, match or surpass the efficiency of new installations.
- Increased property value: Well-maintained period features can boost market appeal and appraisal value.
Ultimately, restoration is a sustainable choice that balances preservation with modern standards.
Step-by-Step Guide to Sash Window Repair
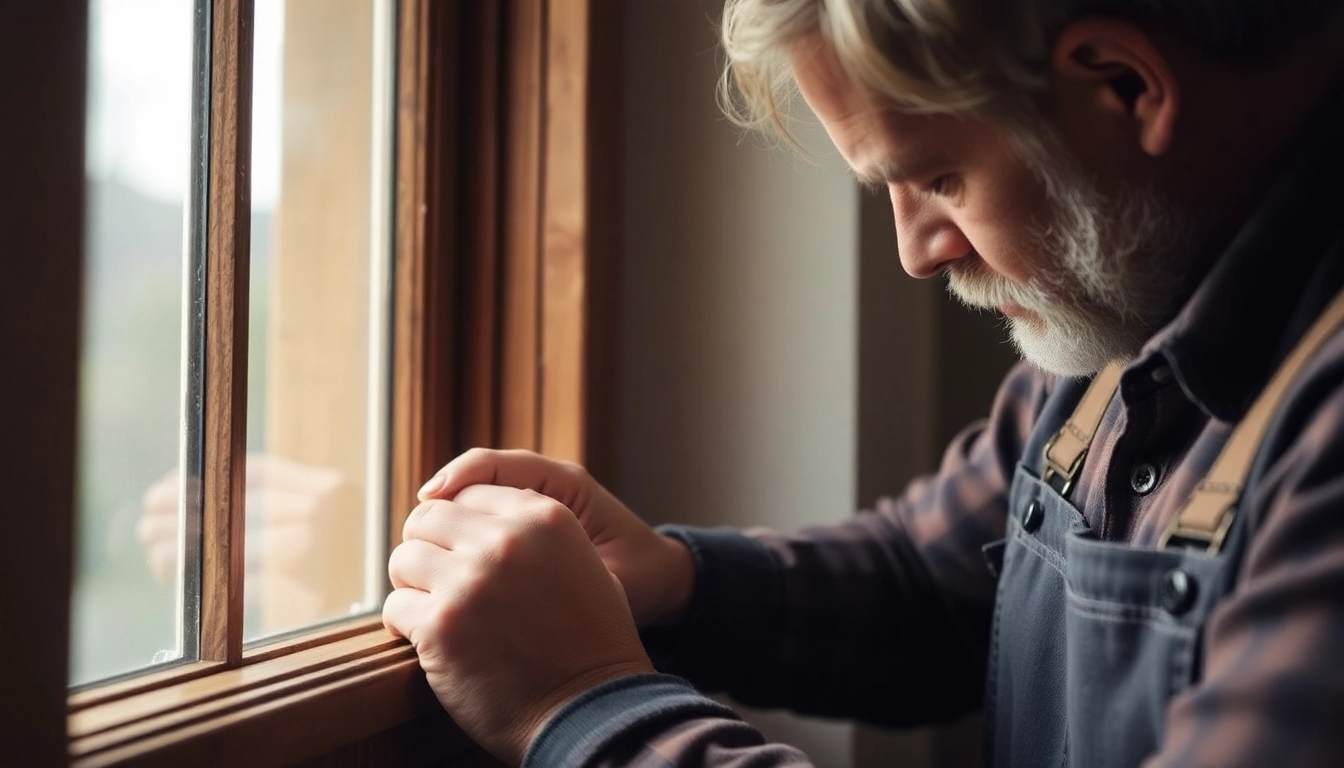
Assessing Damage and Planning Repairs
Before commencing repairs, conduct a thorough assessment. This includes:
- Inspecting sashes for rot, cracks, or warping.
- Checking the hardware—locks, pulleys, weights, and cords—for functionality and wear.
- Assessing the condition of glazing and putty; noting any broken or loose glass.
- Evaluating the integrity of the wooden frames and sills, especially at joints and seals.
Document all issues with photographs and notes, prioritizing repairs based on severity and safety. Planning ensures efficient use of materials and time, whether you intend a DIY approach or hire specialists.
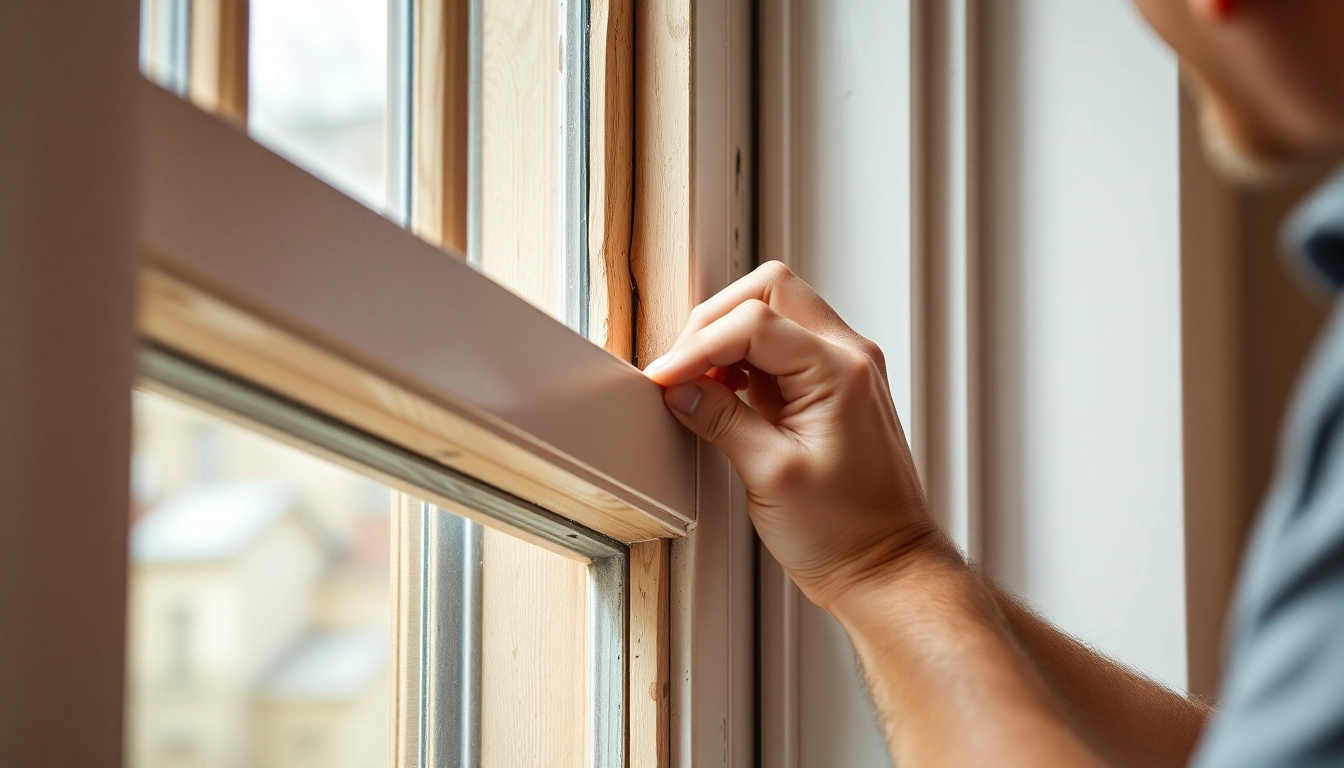
Removing and Repairing Sashes and Frames
The repair process often begins with removing sashes from the frame. This involves:
- Loosening sash cords and removing weights or counterbalances.
- Carefully detaching the sashes to avoid further damage.
- Inspecting the sashes and frame for signs of rot or damage.
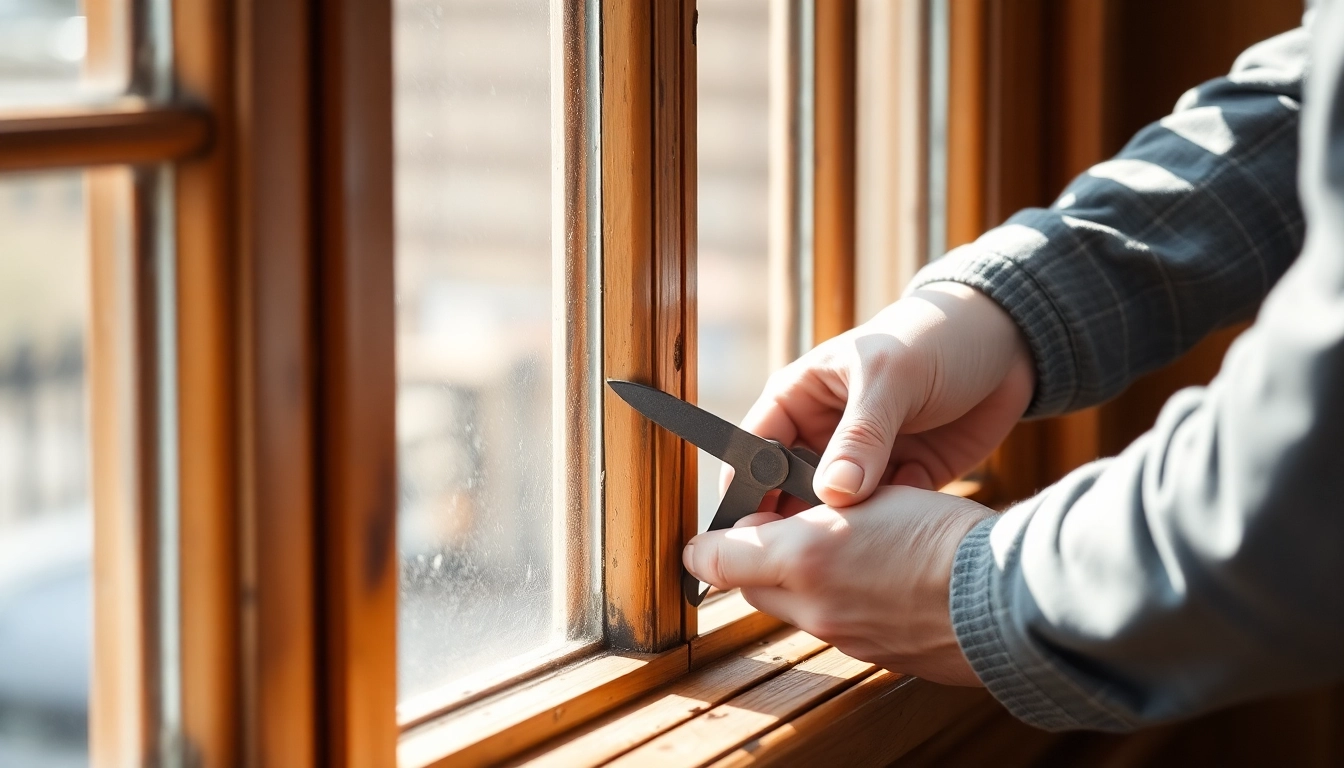
Once removed, deglazing becomes necessary if glass replacement is involved. Old putty and cracked glass are carefully removed, and any damaged timber is repaired or replaced with matching timber species to maintain consistency.
For timber repairs, use high-quality wood fillers for minor cracks, while larger sections may require splicing with reclaimed timber. Expert craftsmen typically strip the sash, repair joints, and reassemble for optimal performance.
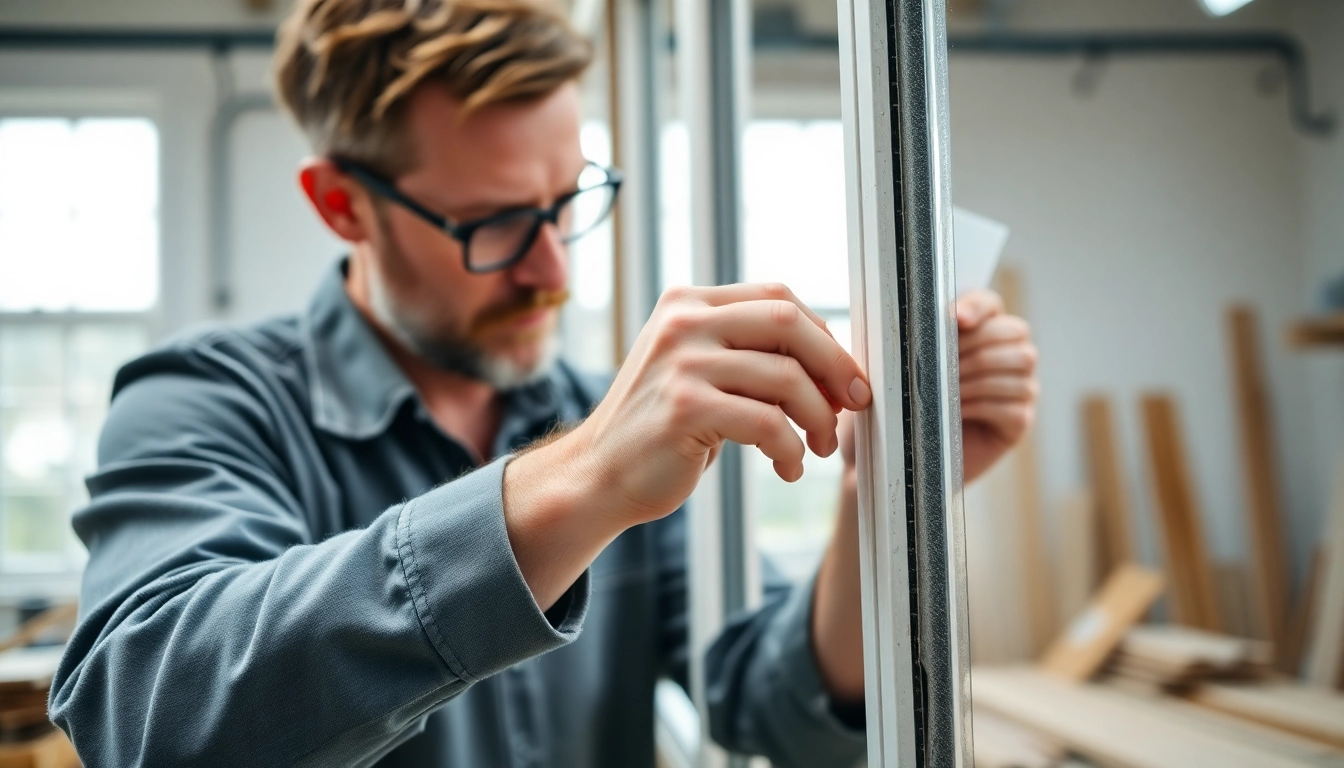
Installing New Components and Finishing Touches
Restoring sash windows is not solely about fixing existing parts; upgrading components enhances performance:
- Installing draught-proofing strips between sashes and frames to improve insulation.
- Fitting double or secondary glazing to boost energy efficiency without compromising aesthetics.
- Refluxing or repainting with breathable, high-quality paints to protect the wood and improve appearance.
- Replacing pulleys, sash cords, and hardware to ensure smooth operation.
Precisely finishing these steps restores not only the visual appeal but also the functional reliability of sash windows.
Tools and Materials for Effective Sash Window Repair
Essential Equipment for DIY Repairs
While professional services provide expertise, many repairs are feasible with basic tools:
- Screwdrivers and pliers for removing hardware and glazing.
- Claw hammers and chisels for dismantling and repairs.
- Putty knives for removing old glazing putty.
- Measuring tapes and levels for precise fitting.
- Sanding blocks or electric sanders for preparing wood surfaces.
- Paintbrushes and rollers for finishing coats.
Safety gear, including gloves, goggles, and dust masks, are crucial for protection, especially when working with aged timber or old paint containing potentially hazardous substances.
Choosing Quality Repair Kits and Replacement Parts
For homeowners engaged in DIY repairs, sourcing reliable kits and parts is vital. Reputable suppliers offer sash repair kits that include essential components such as:
- High-quality glazing putty and glass.
- Sash cords and pulleys designed for longevity.
- Draught-proofing strips made from durable rubber or felt.
- Replacement timber sections matching original profiles.
Investing in quality ensures a durable and aesthetically faithful restoration.
Additionally, consider environmentally friendly options, such as sustainable timber and low VOC paints, to ensure eco-conscious workmanship.
Environmental and Safety Considerations in Repair
When repairing older sash windows, environmental hazards such as lead-based paint or asbestos may be present. It is essential to:
- Conduct tests for lead paint, and use approved removal techniques.
- Implement proper disposal methods for hazardous waste.
- Use environmentally friendly finishes and materials wherever possible.
Prioritize safety and adherence to local regulations to protect both occupants and workers.
Cost Analysis and Budgeting for Sash Window Restoration
Average Costs for Different Repair Types
Understanding the financial aspect of sash window repair helps in planning and decision-making. Here is a guide based on common repair tasks:
- Basic repairs (cords, hinges, minor hardware): £150–£300 per window
- Re-glazing windows: £200–£500 per sash
- Repairing or replacing rotten timber: £400–£800 per window segment
- Complete sash restoration and draught-proofing: £820–£1020, depending on the extent
Note that costs vary depending on size, damage severity, and whether you opt for DIY or professional services.
Factors Influencing Repair Expenses
Several factors can affect the total cost, including:
- Extent of timber damage: Surface cracks are less costly than structural rot.
- Type of glazing: Double-glazing or energy-efficient glass increases expenses.
- Hardware replacement: Upgrading to high-quality locks, pulleys, and cords adds cost but improves durability.
- Property location: Urban areas or regions with high living costs may incur higher labor charges.
An accurate estimate requires an assessment by professionals familiar with local market rates.
When to Hire Professionals versus DIY
While some minor repairs, such as sanding or painting, are achievable DIY tasks, complex issues warrant professional expertise:
- If timber is extensively decayed or requires structural repair.
- When precise glazing or complex hardware replacement is needed.
- For safety-critical tasks involving lead paint removal or asbestos risks.
Engaging experienced craftsmen ensures high standards, compliance with heritage regulations, and long-term performance.
Professional Sash Window Repair Services: What to Expect
How Qualified Craftsmen Restore and Maintain Windows
Skilled professionals follow meticulous processes rooted in heritage conservation standards. Their approach typically involves:
- Thorough inspection and detailed assessment.
- Careful removal and disassembly to prevent additional damage.
- Precise timber repairs, replicating original profiles to preserve authenticity.
- Upgrading hardware for improved functionality and security.
- Implementing modern draught-proofing solutions while retaining historical aesthetics.
- Finishing with high-quality paints, stains, or varnishes that protect against weathering.
These craftsmen prioritize craftsmanship, heritage standards, and customer satisfaction, often providing warranties on their work.
Choosing the Right Service Provider for Your Needs
Selecting a reputable specialist involves:
- Checking credentials and experience in heritage restoration.
- Reviewing case studies and customer testimonials.
- Verifying certifications in conservation standards.
- Discussing detailed project plans and cost estimates upfront.
It is advisable to work with providers who understand the policy frameworks surrounding heritage property repairs.
Ensuring Long-Term Performance and Aesthetics
Proper repair does not end with fixing existing issues; regular maintenance prolongs lifespan:
- Annual cleaning and inspection for early signs of deterioration.
- Applying protective finishes as recommended.
- Updating hardware and draught-proofing periodically.
- Addressing minor issues promptly to prevent major repairs later.
Such proactive care maintains both performance and visual appeal, protecting your investment in heritage features.